

This week, we’re going back to November to share a story from my time in Jacqui’s Grade 1 class. At this point of the year, her students were exploring the world around them by comparing the differences between living and non-living objects — a subject that lends itself nicely to photography and documentation. Before joining the class, Jacqui and I did some goal setting. Turns out, her students were pretty great at accessing Seesaw and turning in assignments, but they lack some of the skills needed to take great photos. She wanted them to level up from including extra fingers, blurry focus, and unfortunate framing. So, we took this opportunity to turn this class into 27 mini Ansel Adams and Anne Leibovitz’s.
Controlled Chaos 🌪️
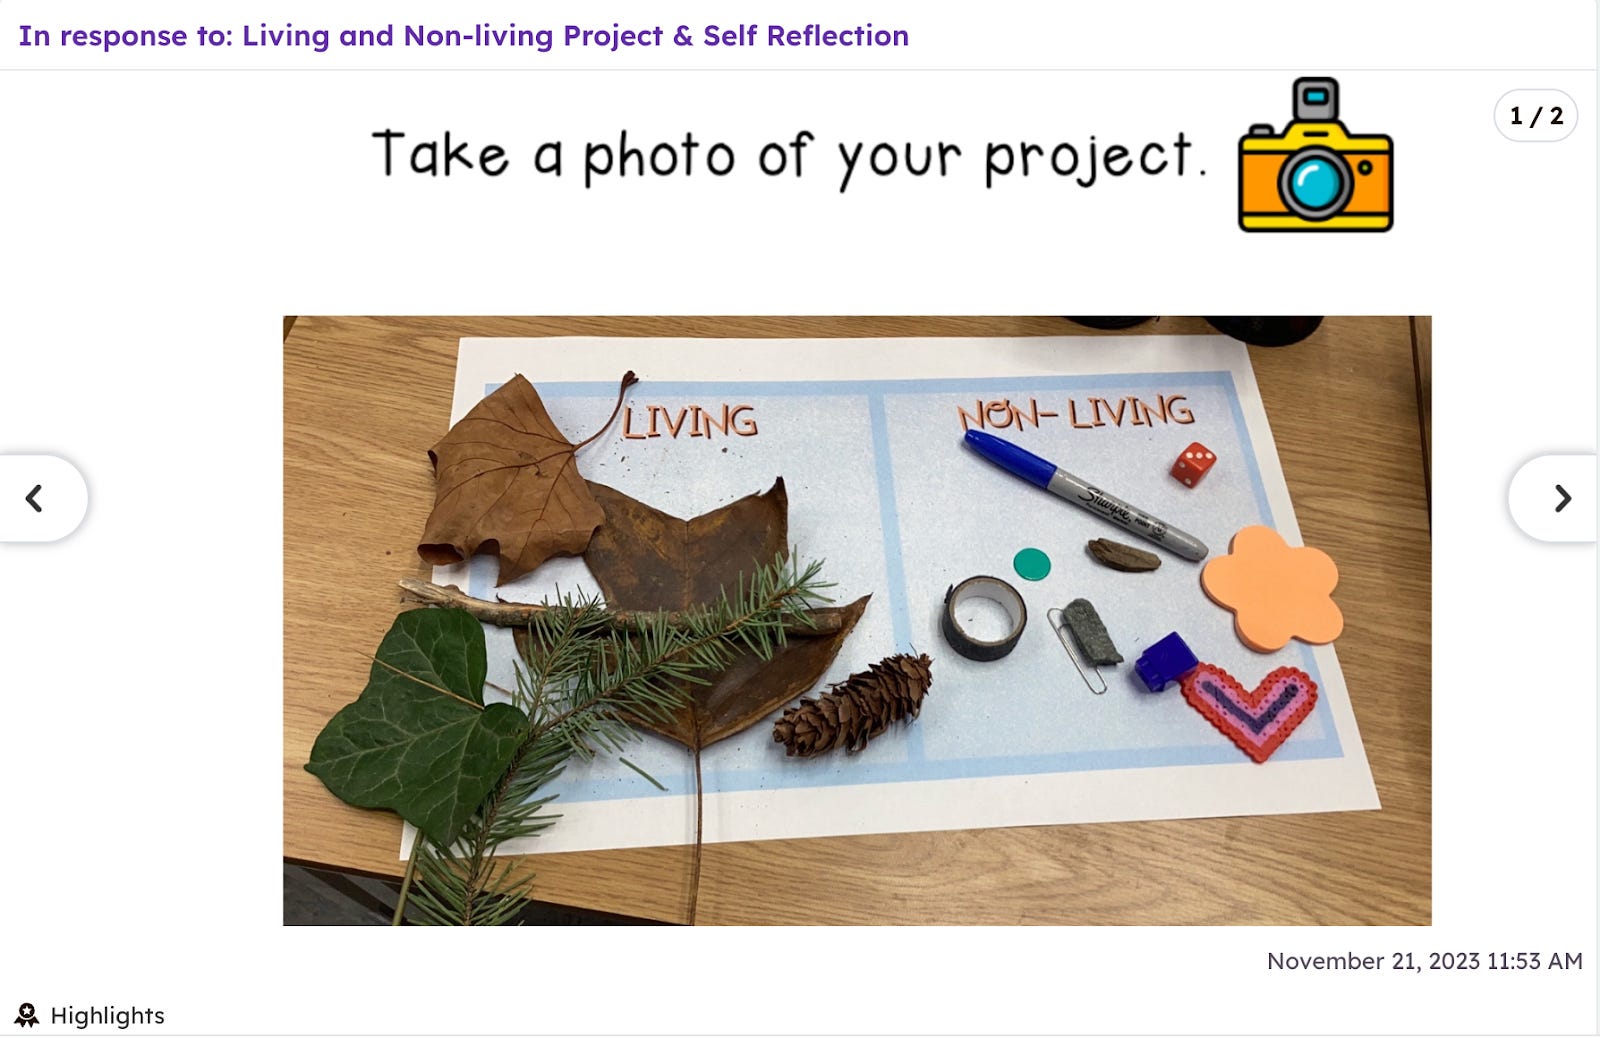
I arrived just in time to witness students running in and out between the classroom and their playground area to collect their living and non-living subjects. Jacqui seemed pretty relaxed as the kids were gathering their evidence. There were no parameters on what they could and couldn’t take from the classroom, so magnets flew off the whiteboard and blocks fell from various shelves. It was only when they started peeking around on her desk did she smile and say, "Let's maybe stay away from Mrs. Thompson's desk." 😂
When everything was collected and organized on their desk templates, I opened up Jacqui's Seesaw assignment she had made for this lesson.
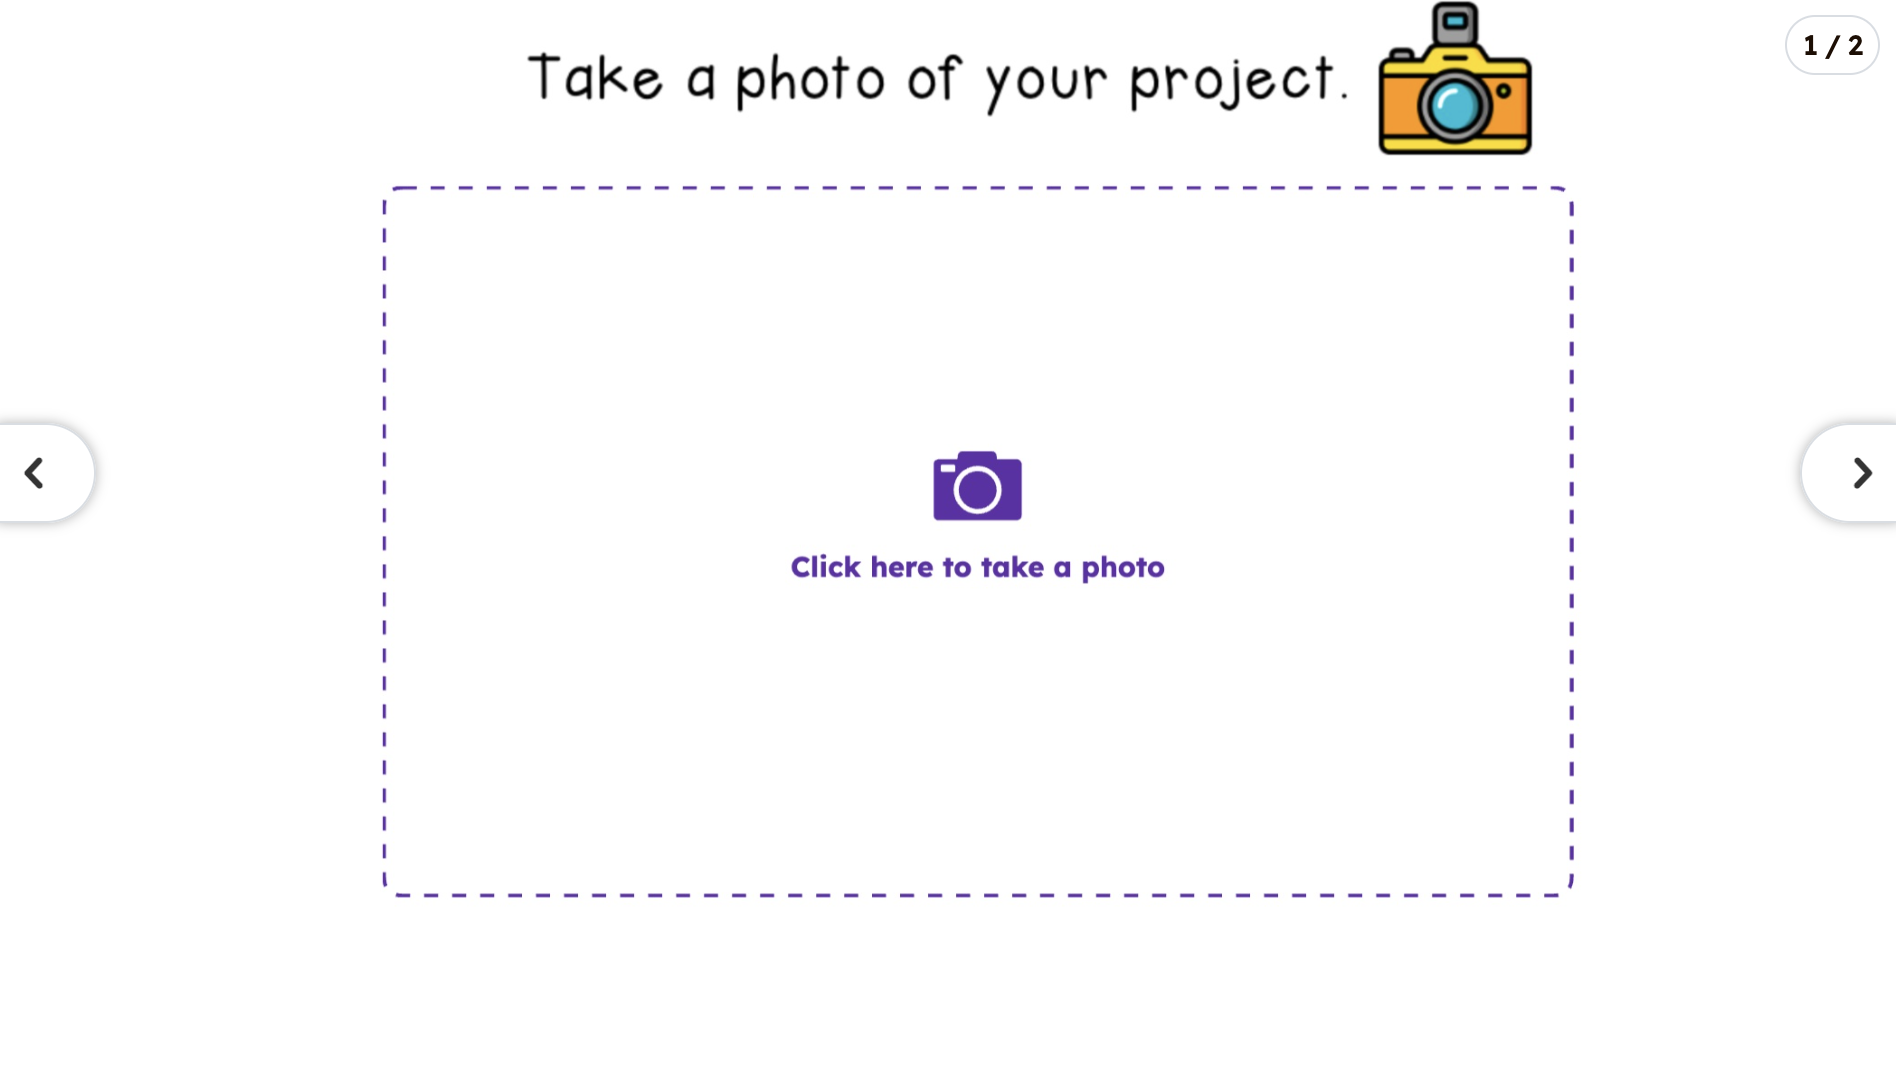
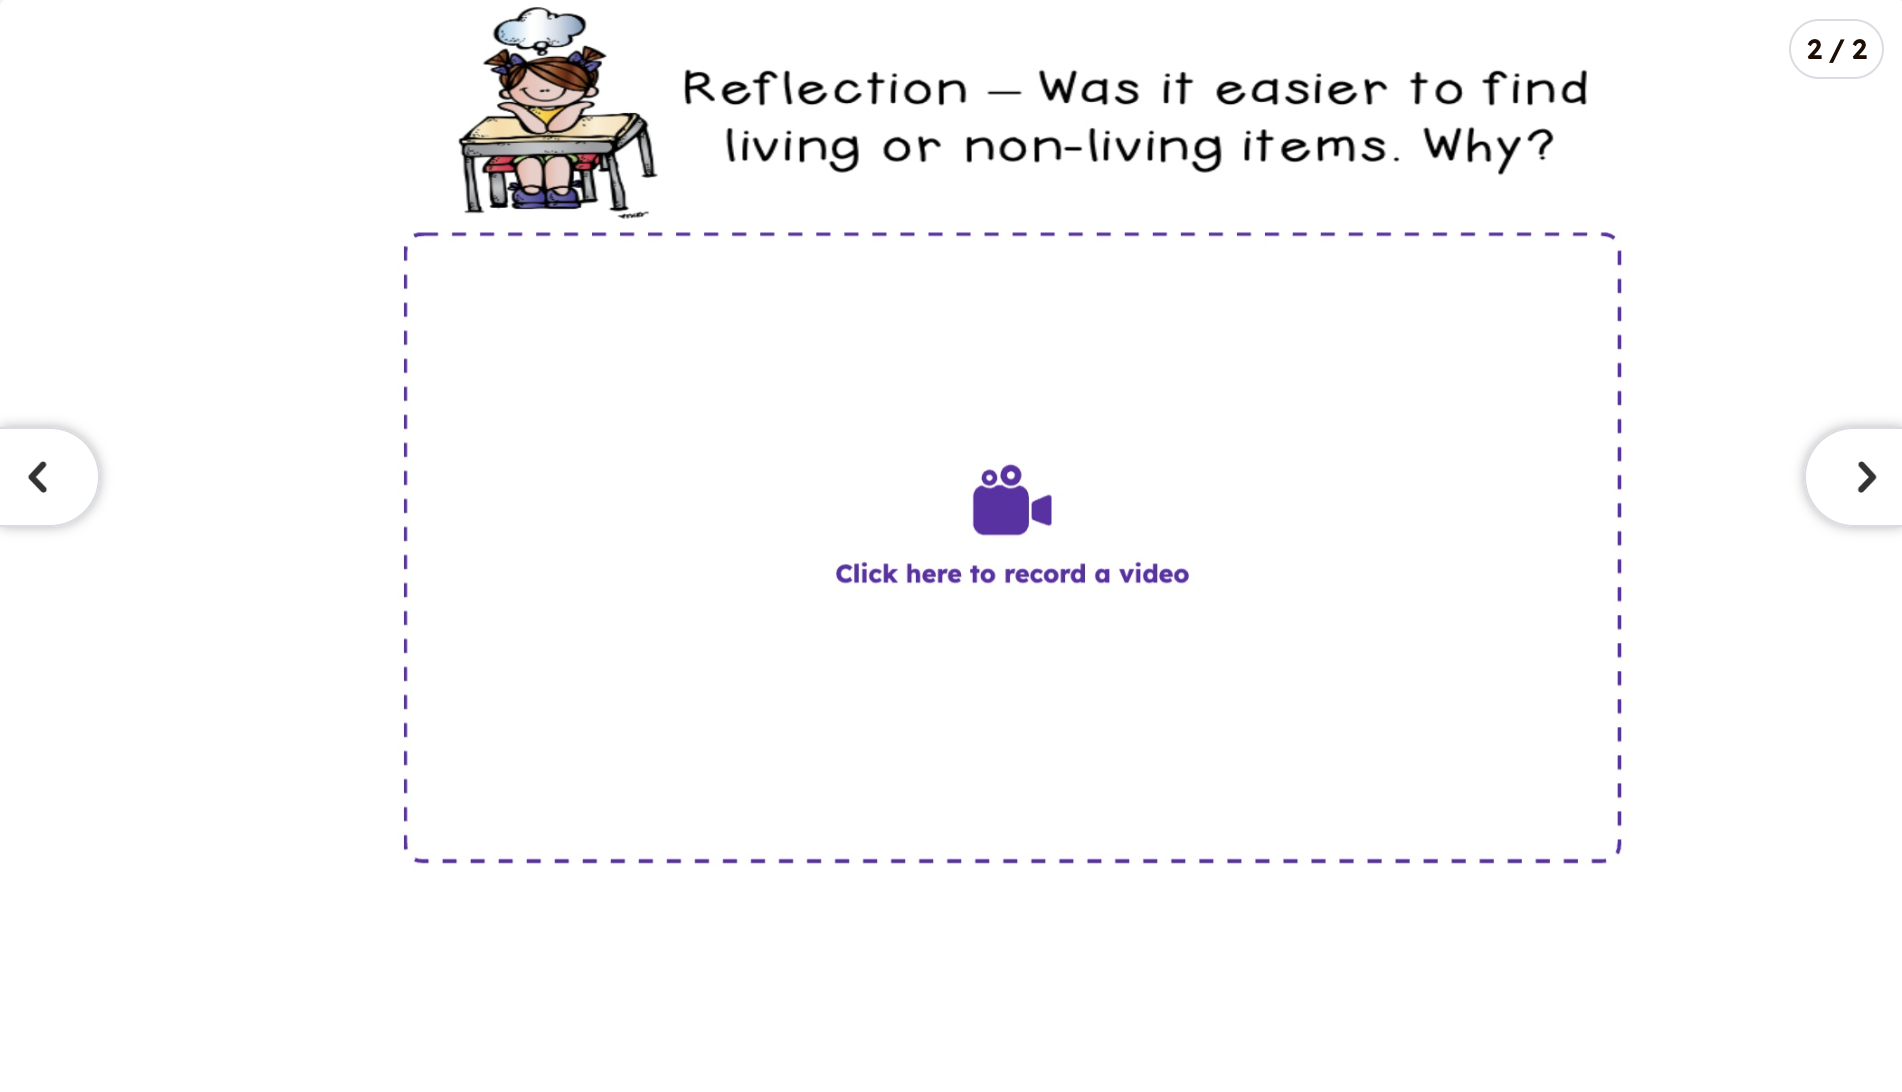
Here's the Seesaw Template we were working with.
Just a Little To the Left… 📸
The first thing we discussed with the students was how to take a good clear picture that gets everything in frame.
- Hold the iPad with two hands 🙌- Use your thumb to press the shutter button instead of letting go with one hand.
- Use dinosaur arms 🦖 - Keep your elbows tucked against your side. This keeps your iPad steady and prevents blurs.
- Line up the edges 📏 - Each corner of your page should line up with your camera. This keeps your subject flat and easy to see.
Next we talked about recording a video of themselves. Jacqui had some recording booths (testing dividers from an older grade) set up around the classroom. These booths helped students recognize the next stage of the project and kept the noise levels down by reducing the number of concurrent recordings. I led the class through some tips for a great recording session:
- Think about what you’re going to say before you record 🤔 - This helps reduce the number of ums and uhs that escape when we’re thinking of what to say next.
- Speak clearly and slowly 🦥 - Most of us tend to talk a little too fast when recording, so slow it down just a little. Watch your recording back to hear how clear you were.
- Respect people recording around you 🤫 - If your near someone recording, keep your voice to a whisper.
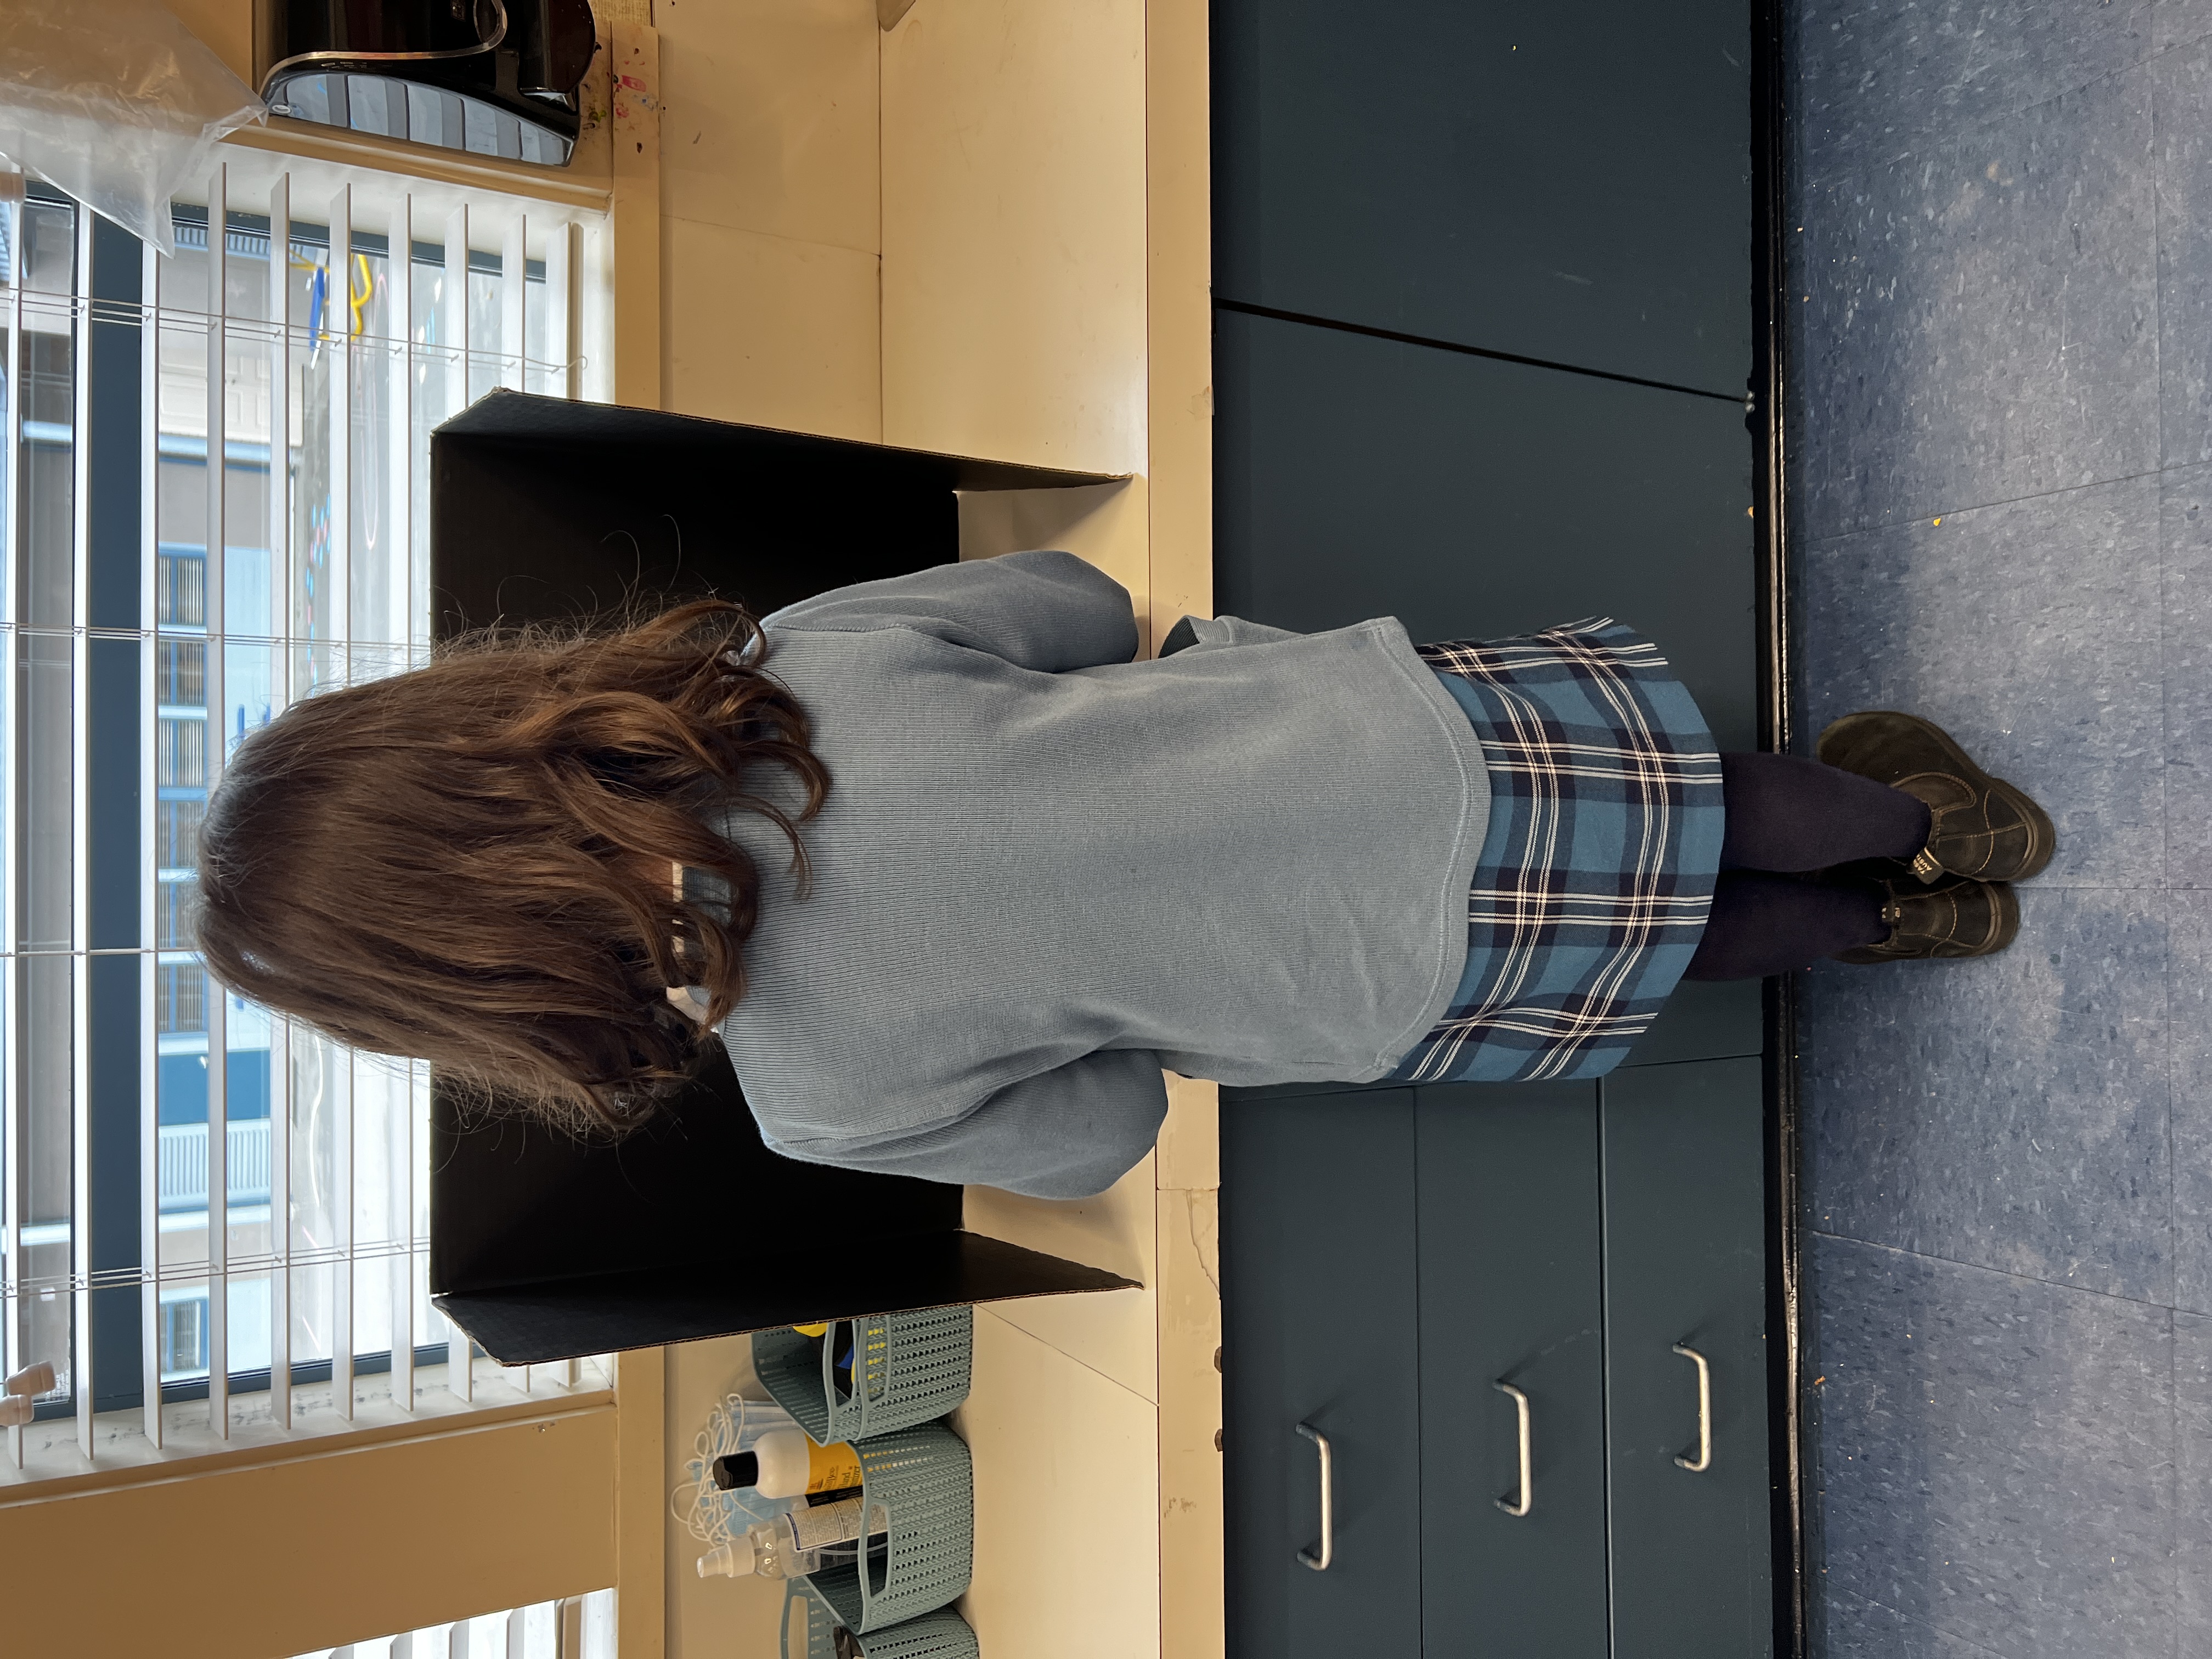
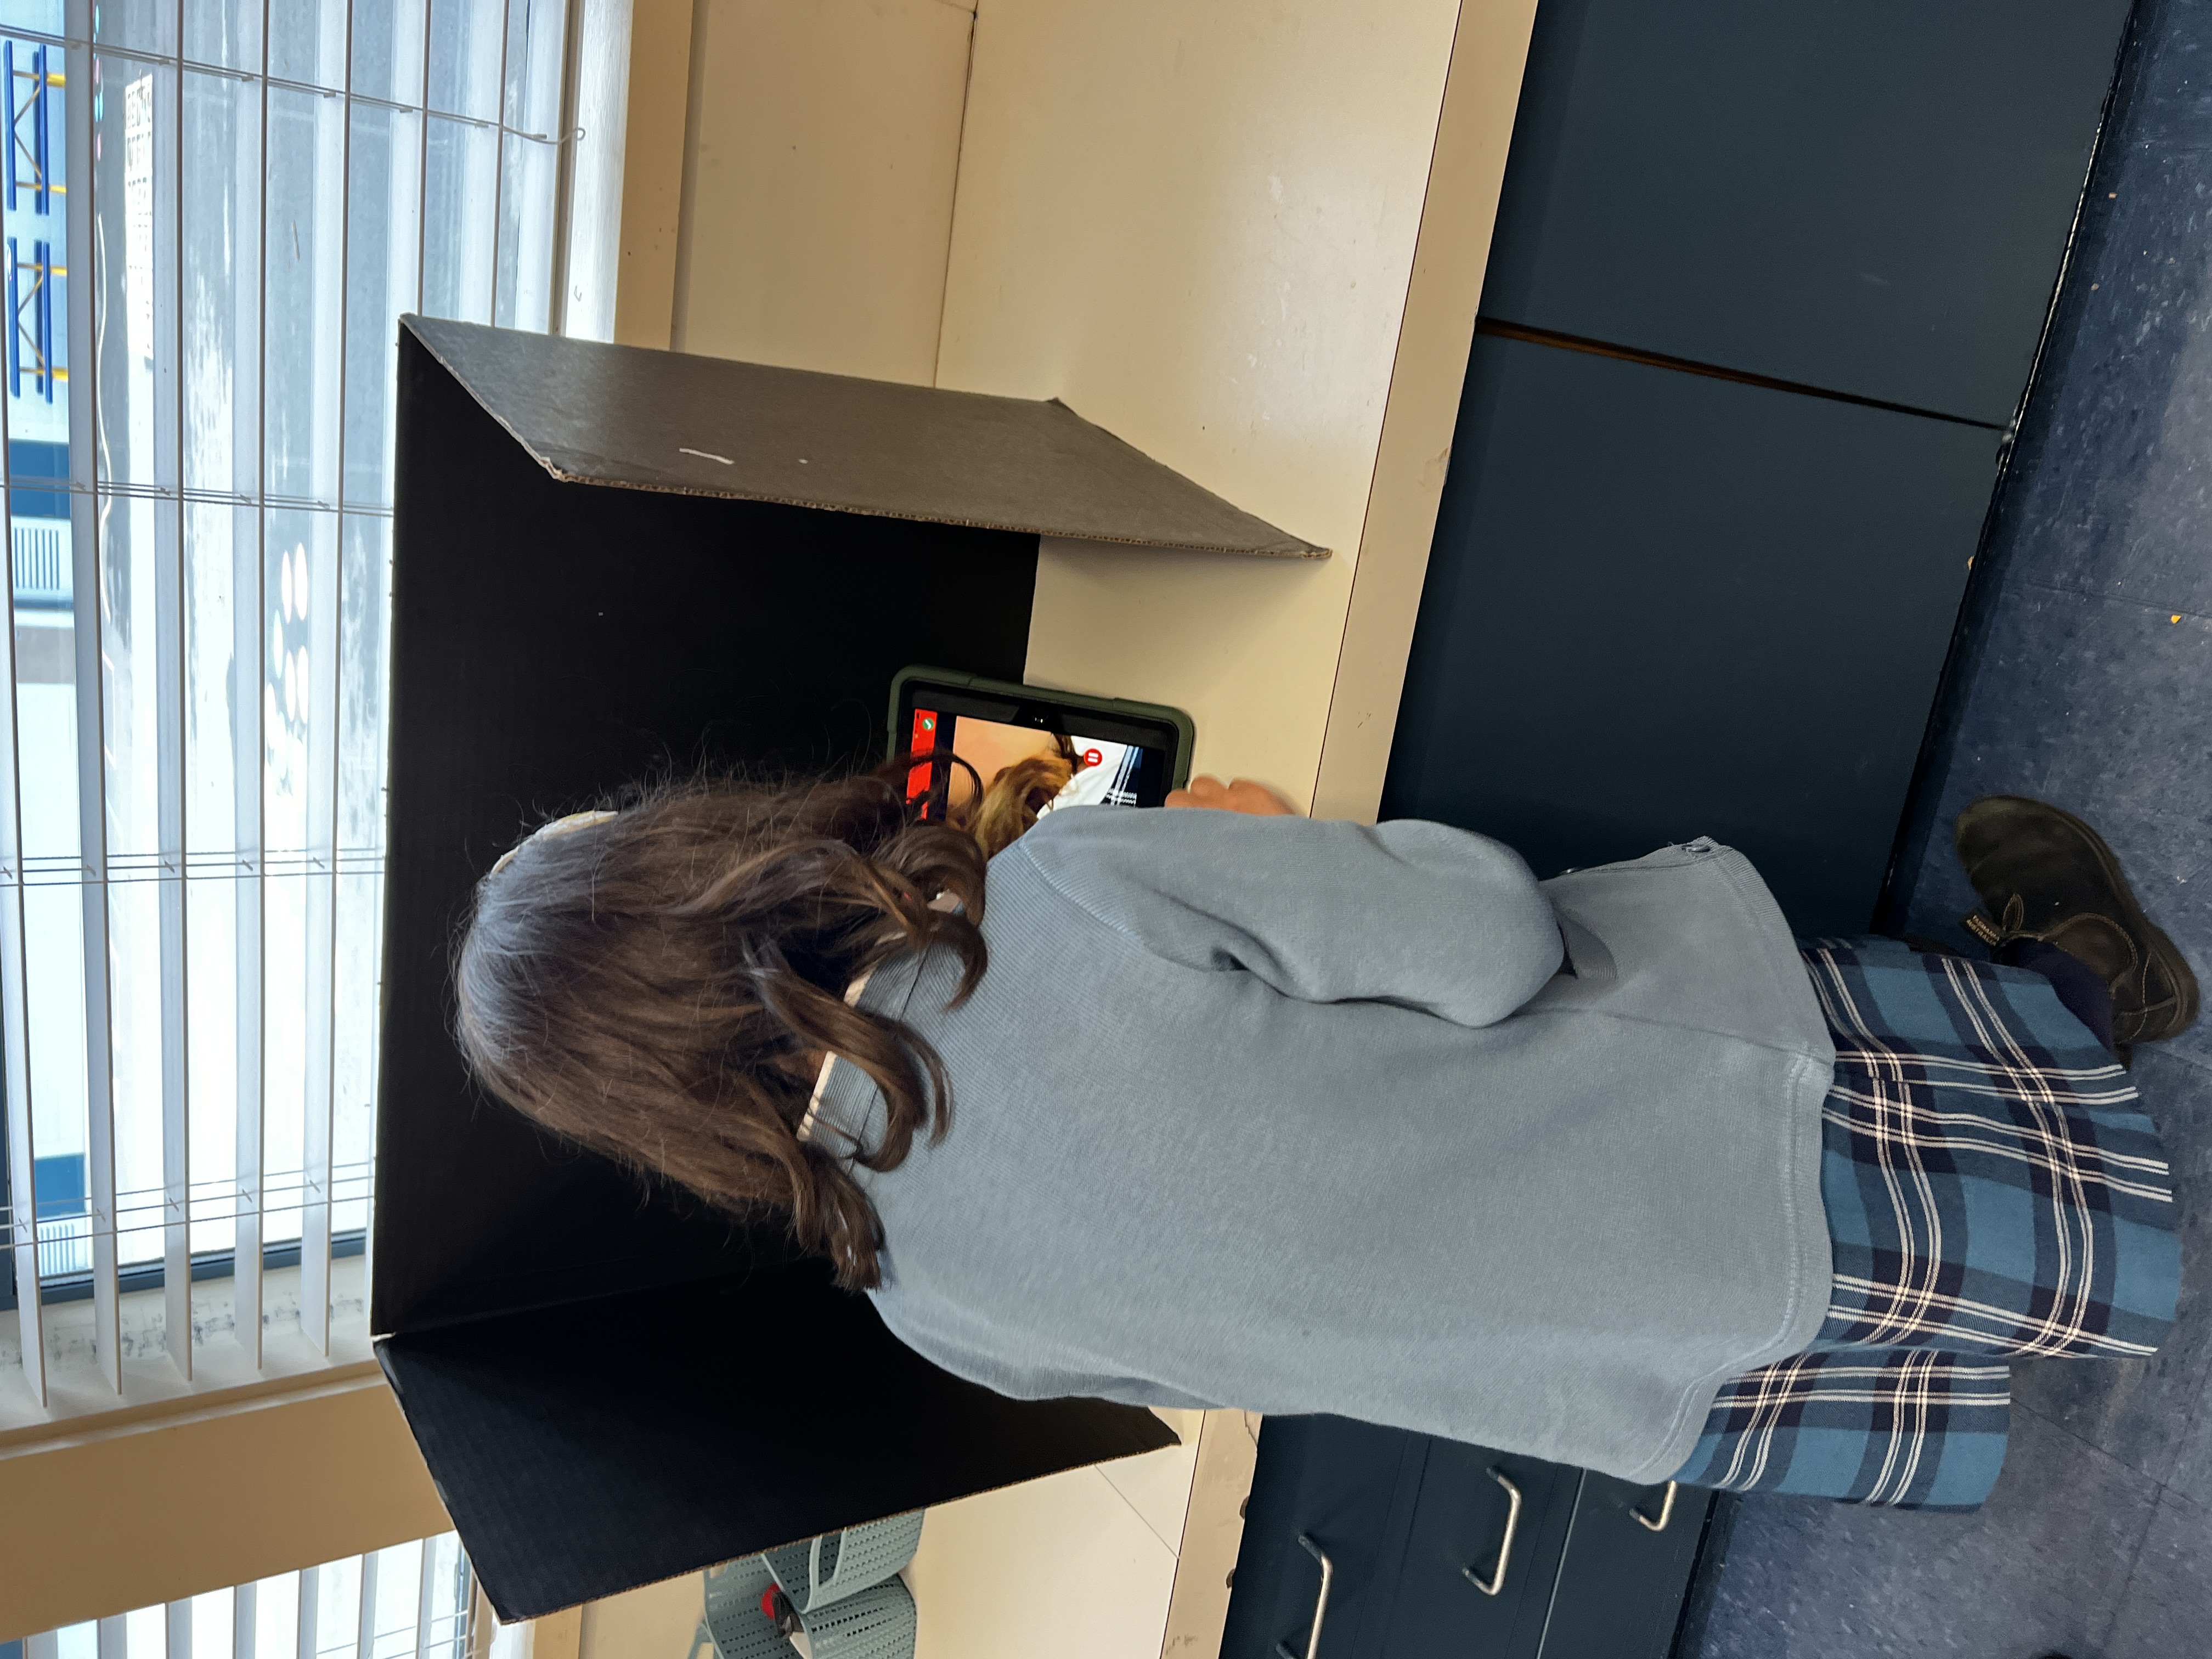
Using dividers as a recording booth.
The kids had no issues understanding their purpose, and everyone self organized to take turns between the three booths set up in the room. Remember, these are 6 and 7 year olds!
Share this post with an educator you’d love to collaborate with!
By the end of our time together, the class seemed like seasoned experts on documenting their thoughts in Seesaw and taking good quality pictures of their findings. Helping students document their progress and record reflections has given Jacqui deeper insight into her students abilities and skill development. Digital skills like these also allow students to actively participate in their own learning by communicating what they are passionate about quickly and efficiently! 🙌
More Than Just a Paperclip? 📎
Have you ever imagined a story behind everyday objects? This photo project made us think of the fun and creative work of artist Javier Perez, who turns Everyday Objects Into Imaginative Illustrations.
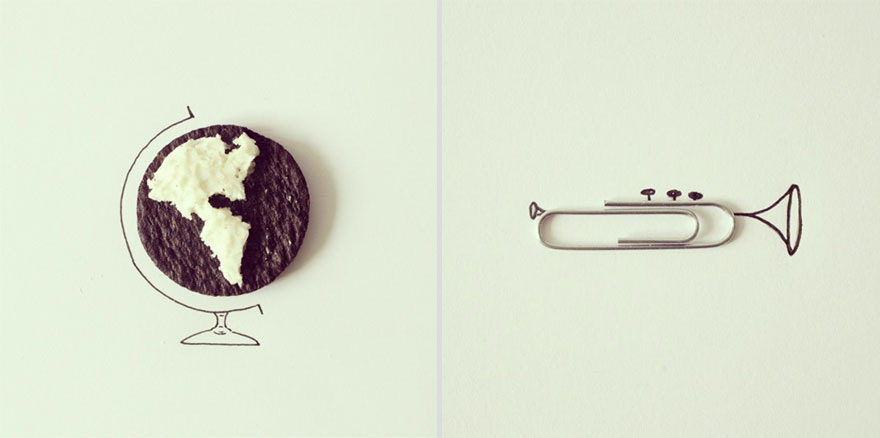
Try this yourself or with your class! You can see more of Javier’s work at https://javierperez.es/