

Many of our partner schools have device carts that are accessible to classes from Kindergarten all the way up to Grade 7. But the way that every class uses the technology varies from grade to grade. This week we’re zooming in to compare the differences (and ultimately, the connecting thread) between how 6 year olds and 13 year olds use iPad cameras to communicate their learning.
Zooming in Grade 1
Let’s start with those rambunctious little Grade 1 students. Last time I was in Sonia’s class, we did a basic photography lesson, because although her class was quite familiar with Seesaw, they weren’t fantastic photographers – yet! (Sound familiar? Check out Vol. 35.) So with this lesson fresh in their mind, we planned to put their new photography skills to the test. Sonia challenged her class to take pictures of things either smaller or bigger than the palm of their hands. 🖐️
We had plans to walk around the school grounds having students take pictures with the iPads. But because that darn atmospheric river was still flowing outside, we moved it mostly indoors including hallways, the playground, and the gym.
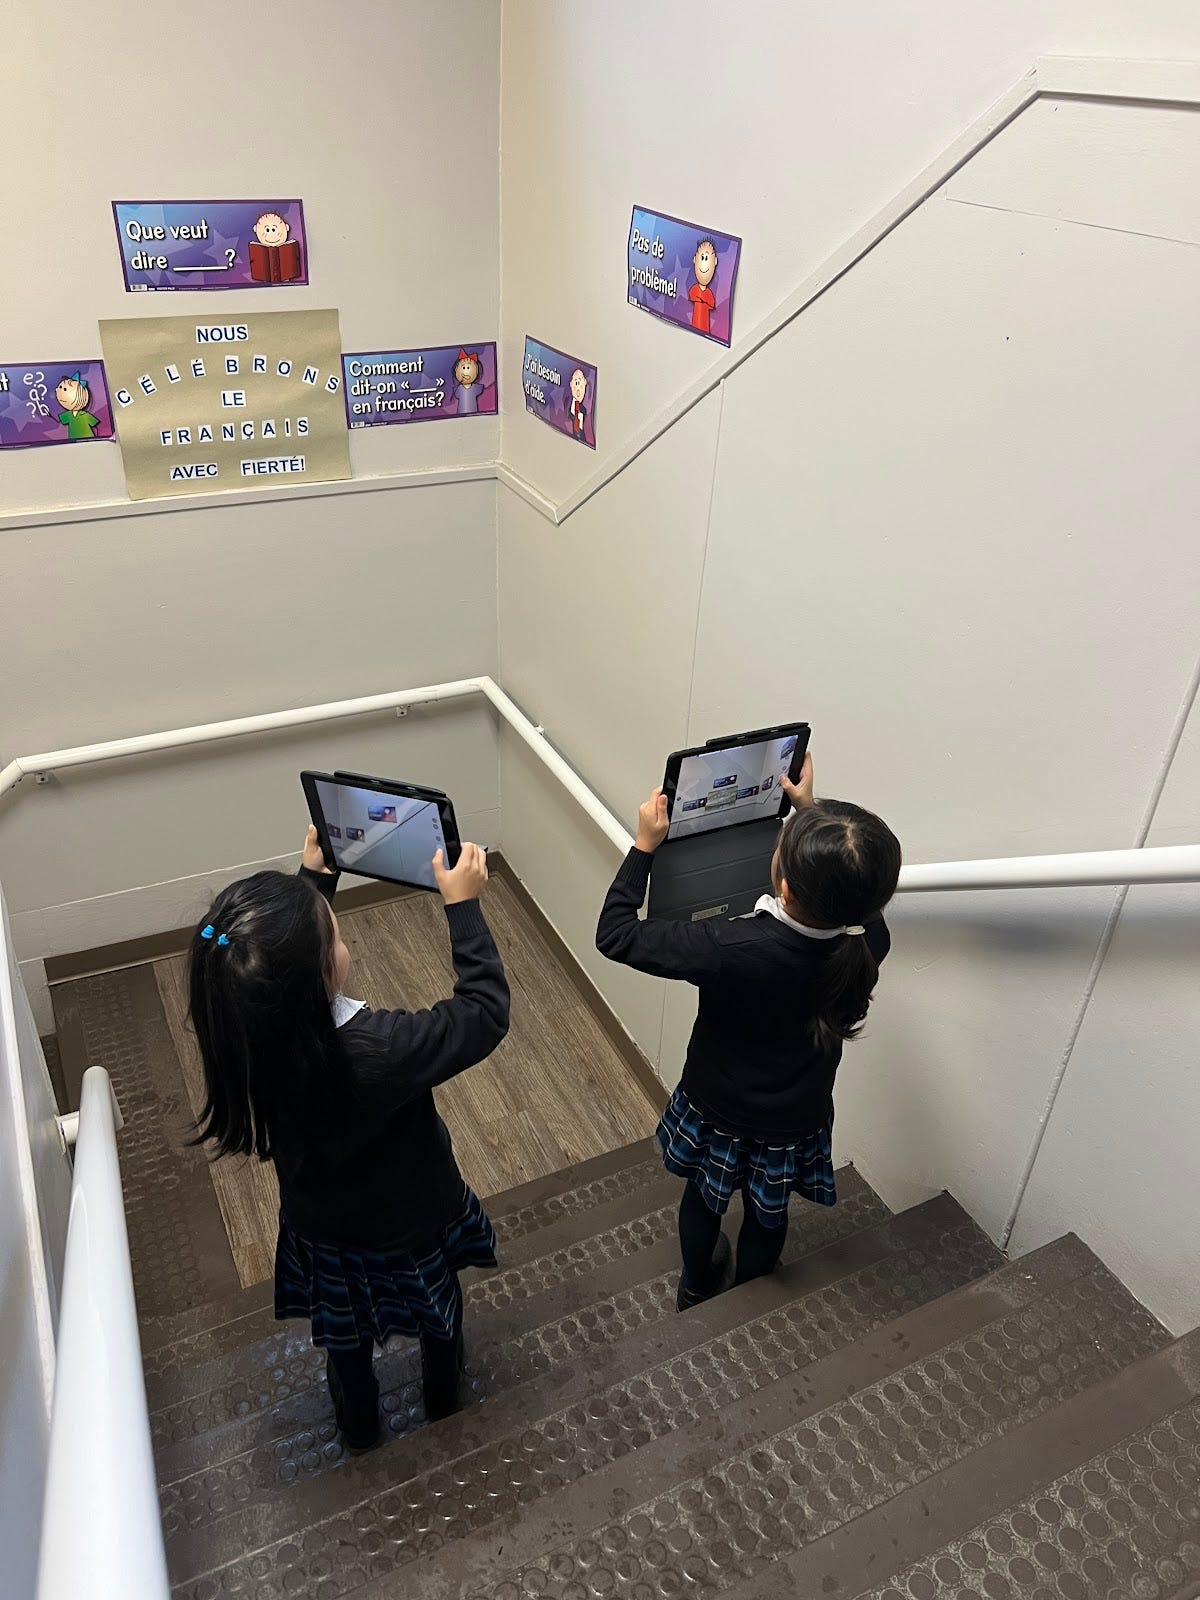
It was in the hallways that Sonia and I noticed the kids taking photos of artwork and other projects on the walls. Though it was hard to tell what the subject of each photo was. Most students just aimed from where they were standing and took a picture. When prompted, students would point out or zoom in on the photo to explain what they saw in the image. At this point I realized it was probably time to teach them to zoom in with their feet! So, we brought them back into the classroom and practiced taking pictures up close by physically moving closer to their subject. This supports one of the science goals in Grade 1: Make and record simple measurements using informal or non-standard methods.
This made a huge difference! When the students went back and took photos of things on the playground and in the gym, there was a noticeable difference in what they focused their cameras on. Rather than taking a picture of several things in a single frame, they got physically closer to an object to snap the photo. We got some lovely pictures of a water fountain, fire alarms, and even a crate of colourful jerseys in the gym.
This fun practice session noticeably improved the students’ photo taking skills. And the result? The students are more independent when taking pictures of their work in Seesaw.
If we were to do this again, Sonia and I agreed we would set simple parameters on the subject of the photographs:
- Choose a specific colour 🍊
- Pick a certain shape 🔺
- Items found only in nature 🌳
- Things that start with a certain letter of the alphabet 🔤
- Objects of a certain texture, like smooth, bumpy, rough, etc. 🪨
Video Upgrades in Grade 7
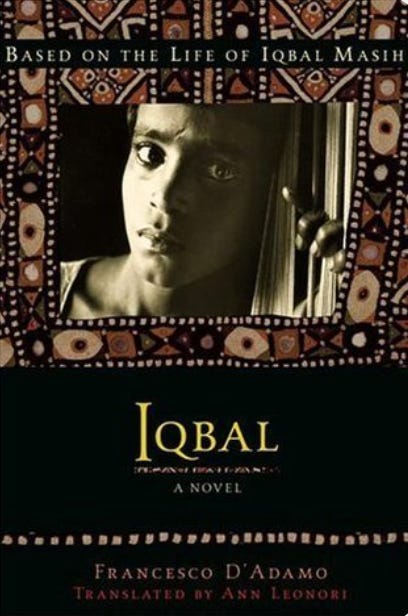
Let’s visit the Grade 7 class now, where they’ve been reading the novel Iqbal. In groups, students wrote news reports and interviews between themselves and the novel’s characters and today was the day they’d be recording their skits. Before they jumped into their recordings, I joined them for a quick discussion. We addressed a couple big ideas:
- The difference between a Wide Shot 🖼️, Medium Shot 👪, and Close Up 👱
- The Rule of Thirds
- Framing and Composition
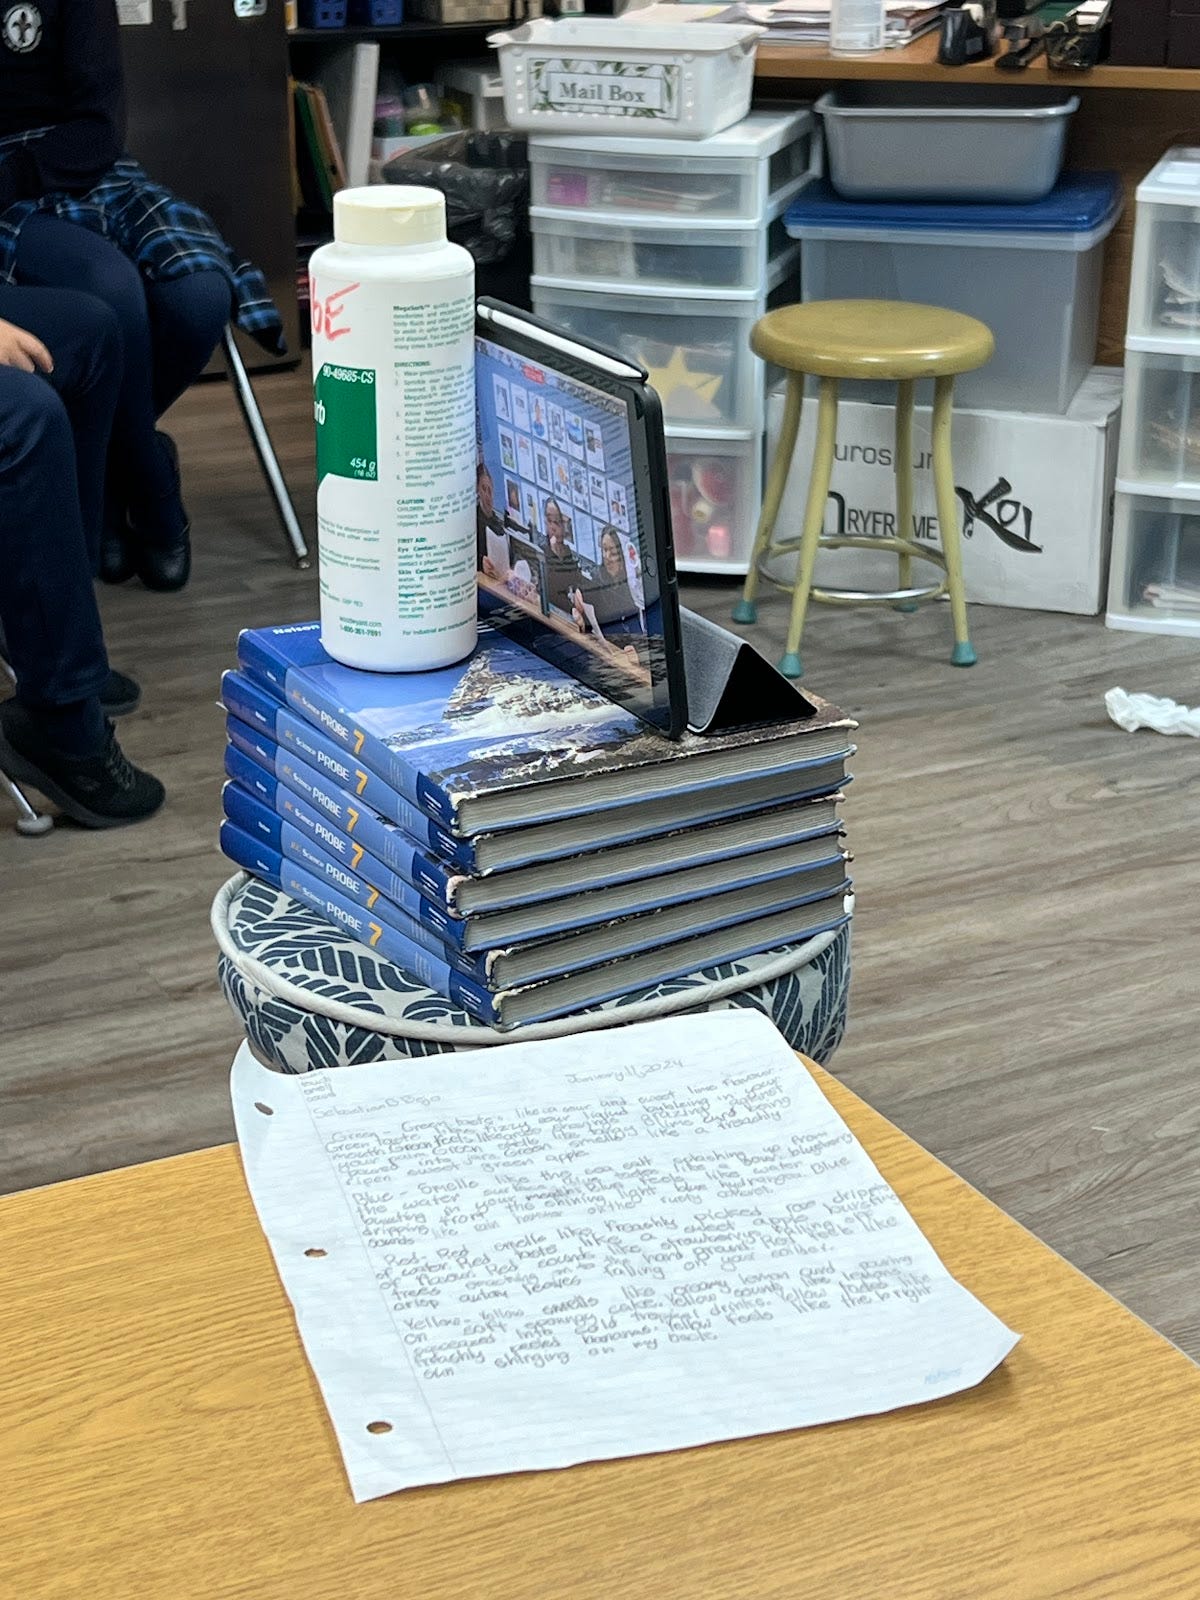
We had a pretty basic setup, just an iPad on a stack of textbooks on a stool! With a few adjustments and multiple orientations, we were able to establish the perfect angle for the shot.
Record, Watch, and Analyze 🔁
After reviewing their scripts, a group of students volunteered to be our first table read. We steadied the camera, set the lights and Action! I stood behind the iPad and after about a minute, we cut 🎬. Next we sent the video to the projector and watched it back as a class. Watching the recording in the moment provided everyone with some incredible insight and actionable feedback! Here are some things the students noticed and pointed out:
- The iPad microphone picking up sounds of their chairs scraping around the floor. 🪑
- The difference in volume between the three students’ voices. 🔈
- The change in volume of their voice while talking when they'd face each other vs. facing the iPad. ➡️
- How certain loud sounds, like hitting the table, affected the audio quality. 🧨
- How their props were distracting when placed in the middle of the frame. 🧻
- How squeezed the group looked in the frame with their initial positioning. 🪗
Record, watch, and analyze. We did this three times with the same cast of students while the rest of the class made observations and notes of what could be adjusted to improve the recordings. Through that simple practice, the group’s recording got better and better! And for the rest of the groups, they learned what to be aware of for their own recordings. Bravo! 🎭
Thank you for reading The Classroom Chronicles. This post is public so feel free to share it.
The Connection
iPad cameras can support learning, communicating ideas and documentation at a variety of grade levels. From learning how to frame a good photo in Grade 1, to filming quality footage in Grade 7, these skills build on each other year after year. And although the content they created in these projects might end up somewhere like Seesaw or Google Classroom, the foundational skills of photo and video recording are transferable across different apps, platforms and contexts! What are you waiting for? Get shooting! 📸
Aunt iPad
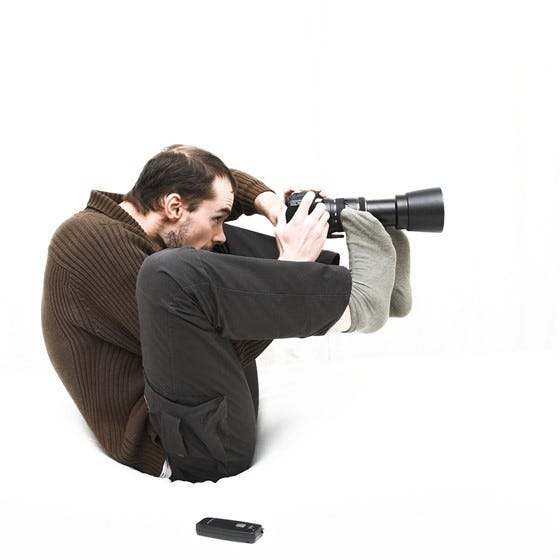
While iPads are great at school to learn the basics of photography, it’s not the case for all occasions – like at weddings, for example.
Read: The definitive guide to taking wedding photos with your iPad