

Ok, so you’ve been reading the Classroom Chronicles for a while, and you’ve noticed that we do a lot of projects with Canva. You may think to yourself, 🤔 “This is great, but how do I introduce Canva to my class without the pressure of having to complete a whole project in a single class?!”
What a great question, teacher! Let’s explore how loosening the reins can give your students the freedom to learn the basics of Canva on their own.
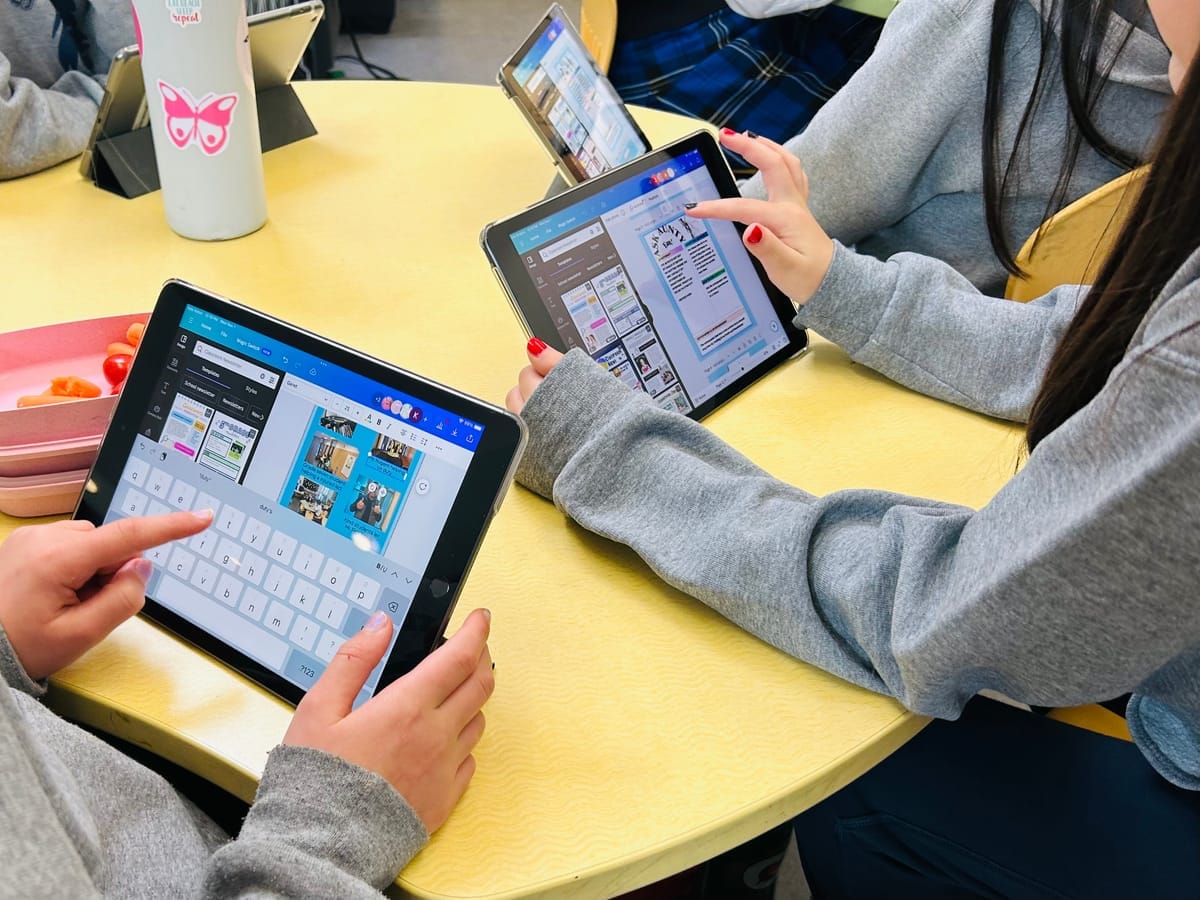
Last week I visited Janice's Grade 4 class to run a Canva workshop. The class had never used the app before, but are pretty competent when using other apps on their class set of iPads. Janice had an upcoming project that depends on her students being able to navigate Canva and create images out of the vast library of graphic elements. She was concerned that jumping right into that project might be too much right off the bat, so a low stakes creative exploration was a great way to ease the class into the tool.
Defining Design Language
I like to start these lessons by defining some design language and asking the class what they know about digital art. Here’s a few terms that we found helpful and the definitions the class came up with.
- Canva 🖼️- A place to create designs.
- Pixel 👾- Tiny squares on the screen that make up the image (you can see them on the projector!).
- Layers 🗂️- Foreground midground, and background elements all on top of each other. Layers help make sure everything is visible.
- Lock 🔐- Keeps an element from moving around, good for setting the background.
- Graphics vs Photos 📸 - Illustrations vs real life pictures. Background images are usually better if they are a photo because they will be more detailed.
Next we did some brainstorming! The class was itching to create, so we used an improv technique and came up with our first theme. I asked them to...
- Pick a letter: Z
- Pick a place that starts with Z: Zoo
- Pick a job that starts with Z: Zoo Keeper
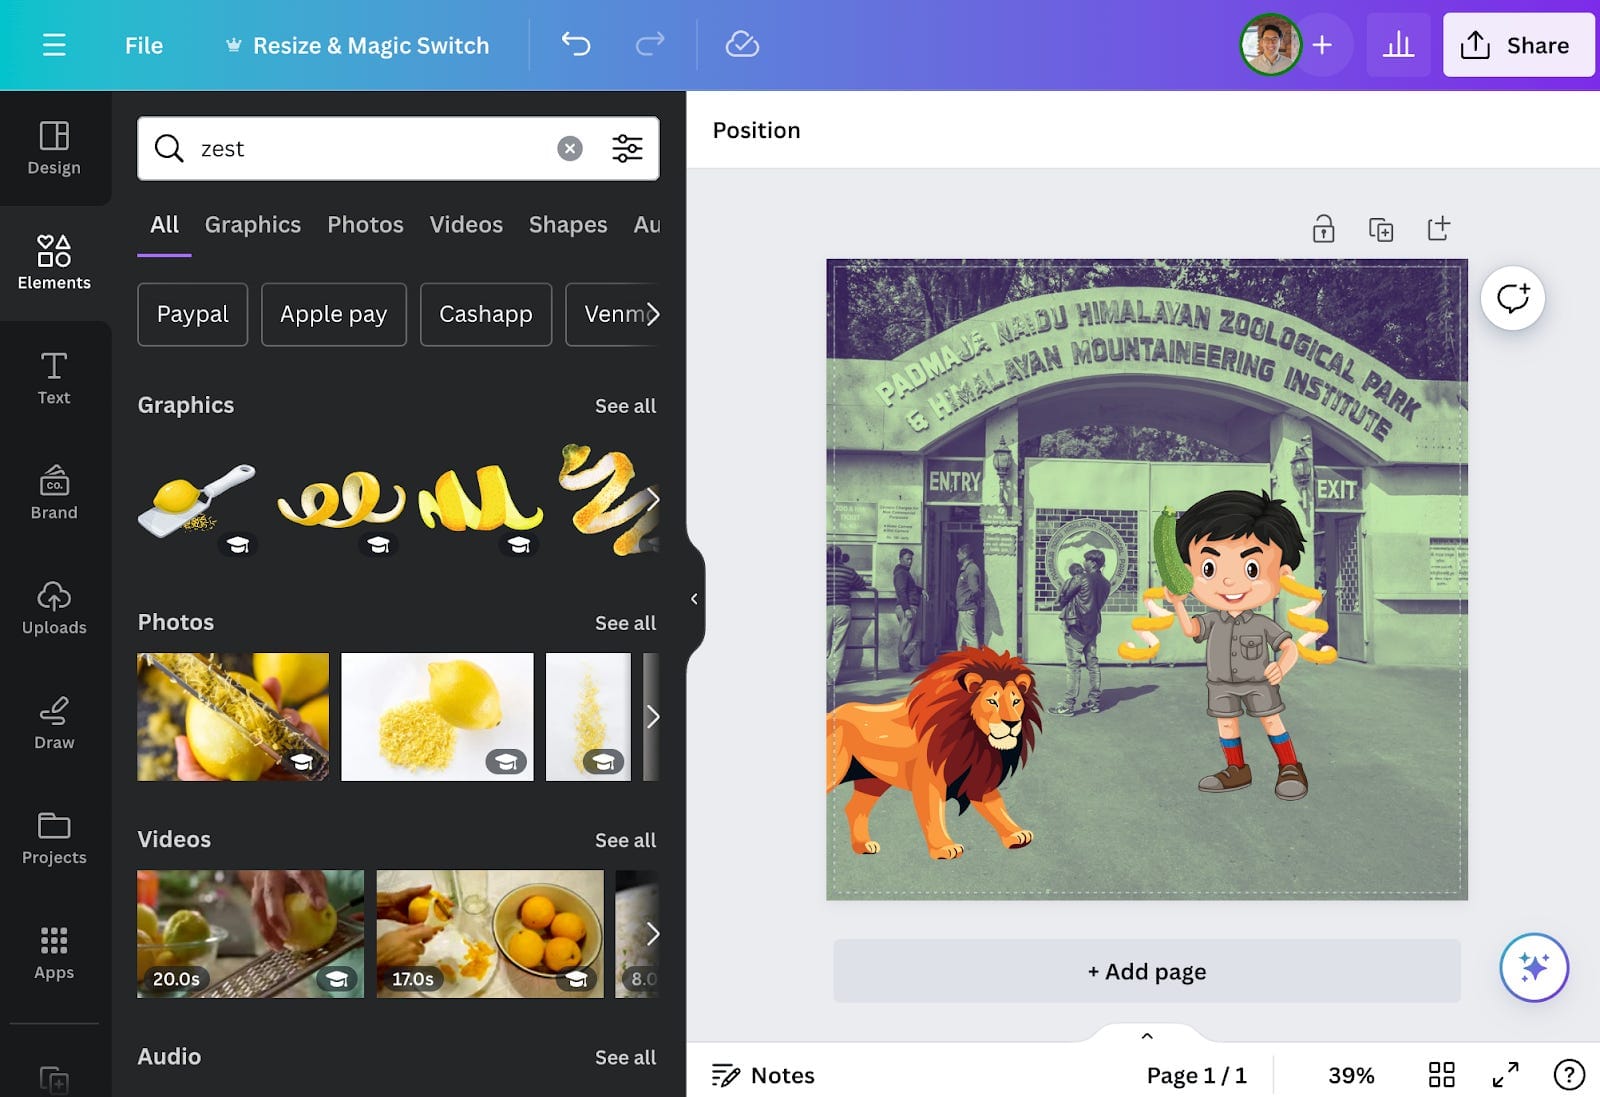
- Pick things that start with Z: Zucchini and Zest!
I was a bit nervous that Z would be a hard letter to work with, but they fully embraced our Zesty Zookeeper at the Zoo holding a Zucchini! Once we had some common language, I walked them through creating their first canvas.
As the students worked on their collages, Janice and I listened in to hear what discoveries they made and encouraged them to ask each other questions if they got stuck. The collages came together REALLY quick!
Time to Regroup!
After spending about 10 minutes on the first collage, we regrouped, and discussed some of the new tools and techniques the students had found.
- Resize Object ↕️- Drag the corner dot.
- Rotate 🔄- Drag the arrows floating under the object.
- Background Remover ✏️- Tap Edit Photo then BG Remover.
- GIFs 💃- Animated illustrations can be used to spice up your collage!
I like this regrouping strategy because it gets the class interested in exploring the interface and finding the tools they need to complete their picture. Many students got hung up the first time they tried to resize or rotate an object, so getting them to ask their deskmates an explore the interface made the discovery of a new feature that much more exciting. I also try to give students credit for each new feature discovered so the class knows who to ask if they need more help with the tool.
“Austin discovered how to rotate an image! Care to share with the class how you did you do it, Austin?”
Our second collage was based on the letter Y. These kids were working backwards through the alphabet! We landed on a Yak in the Yukon doing Yoga.
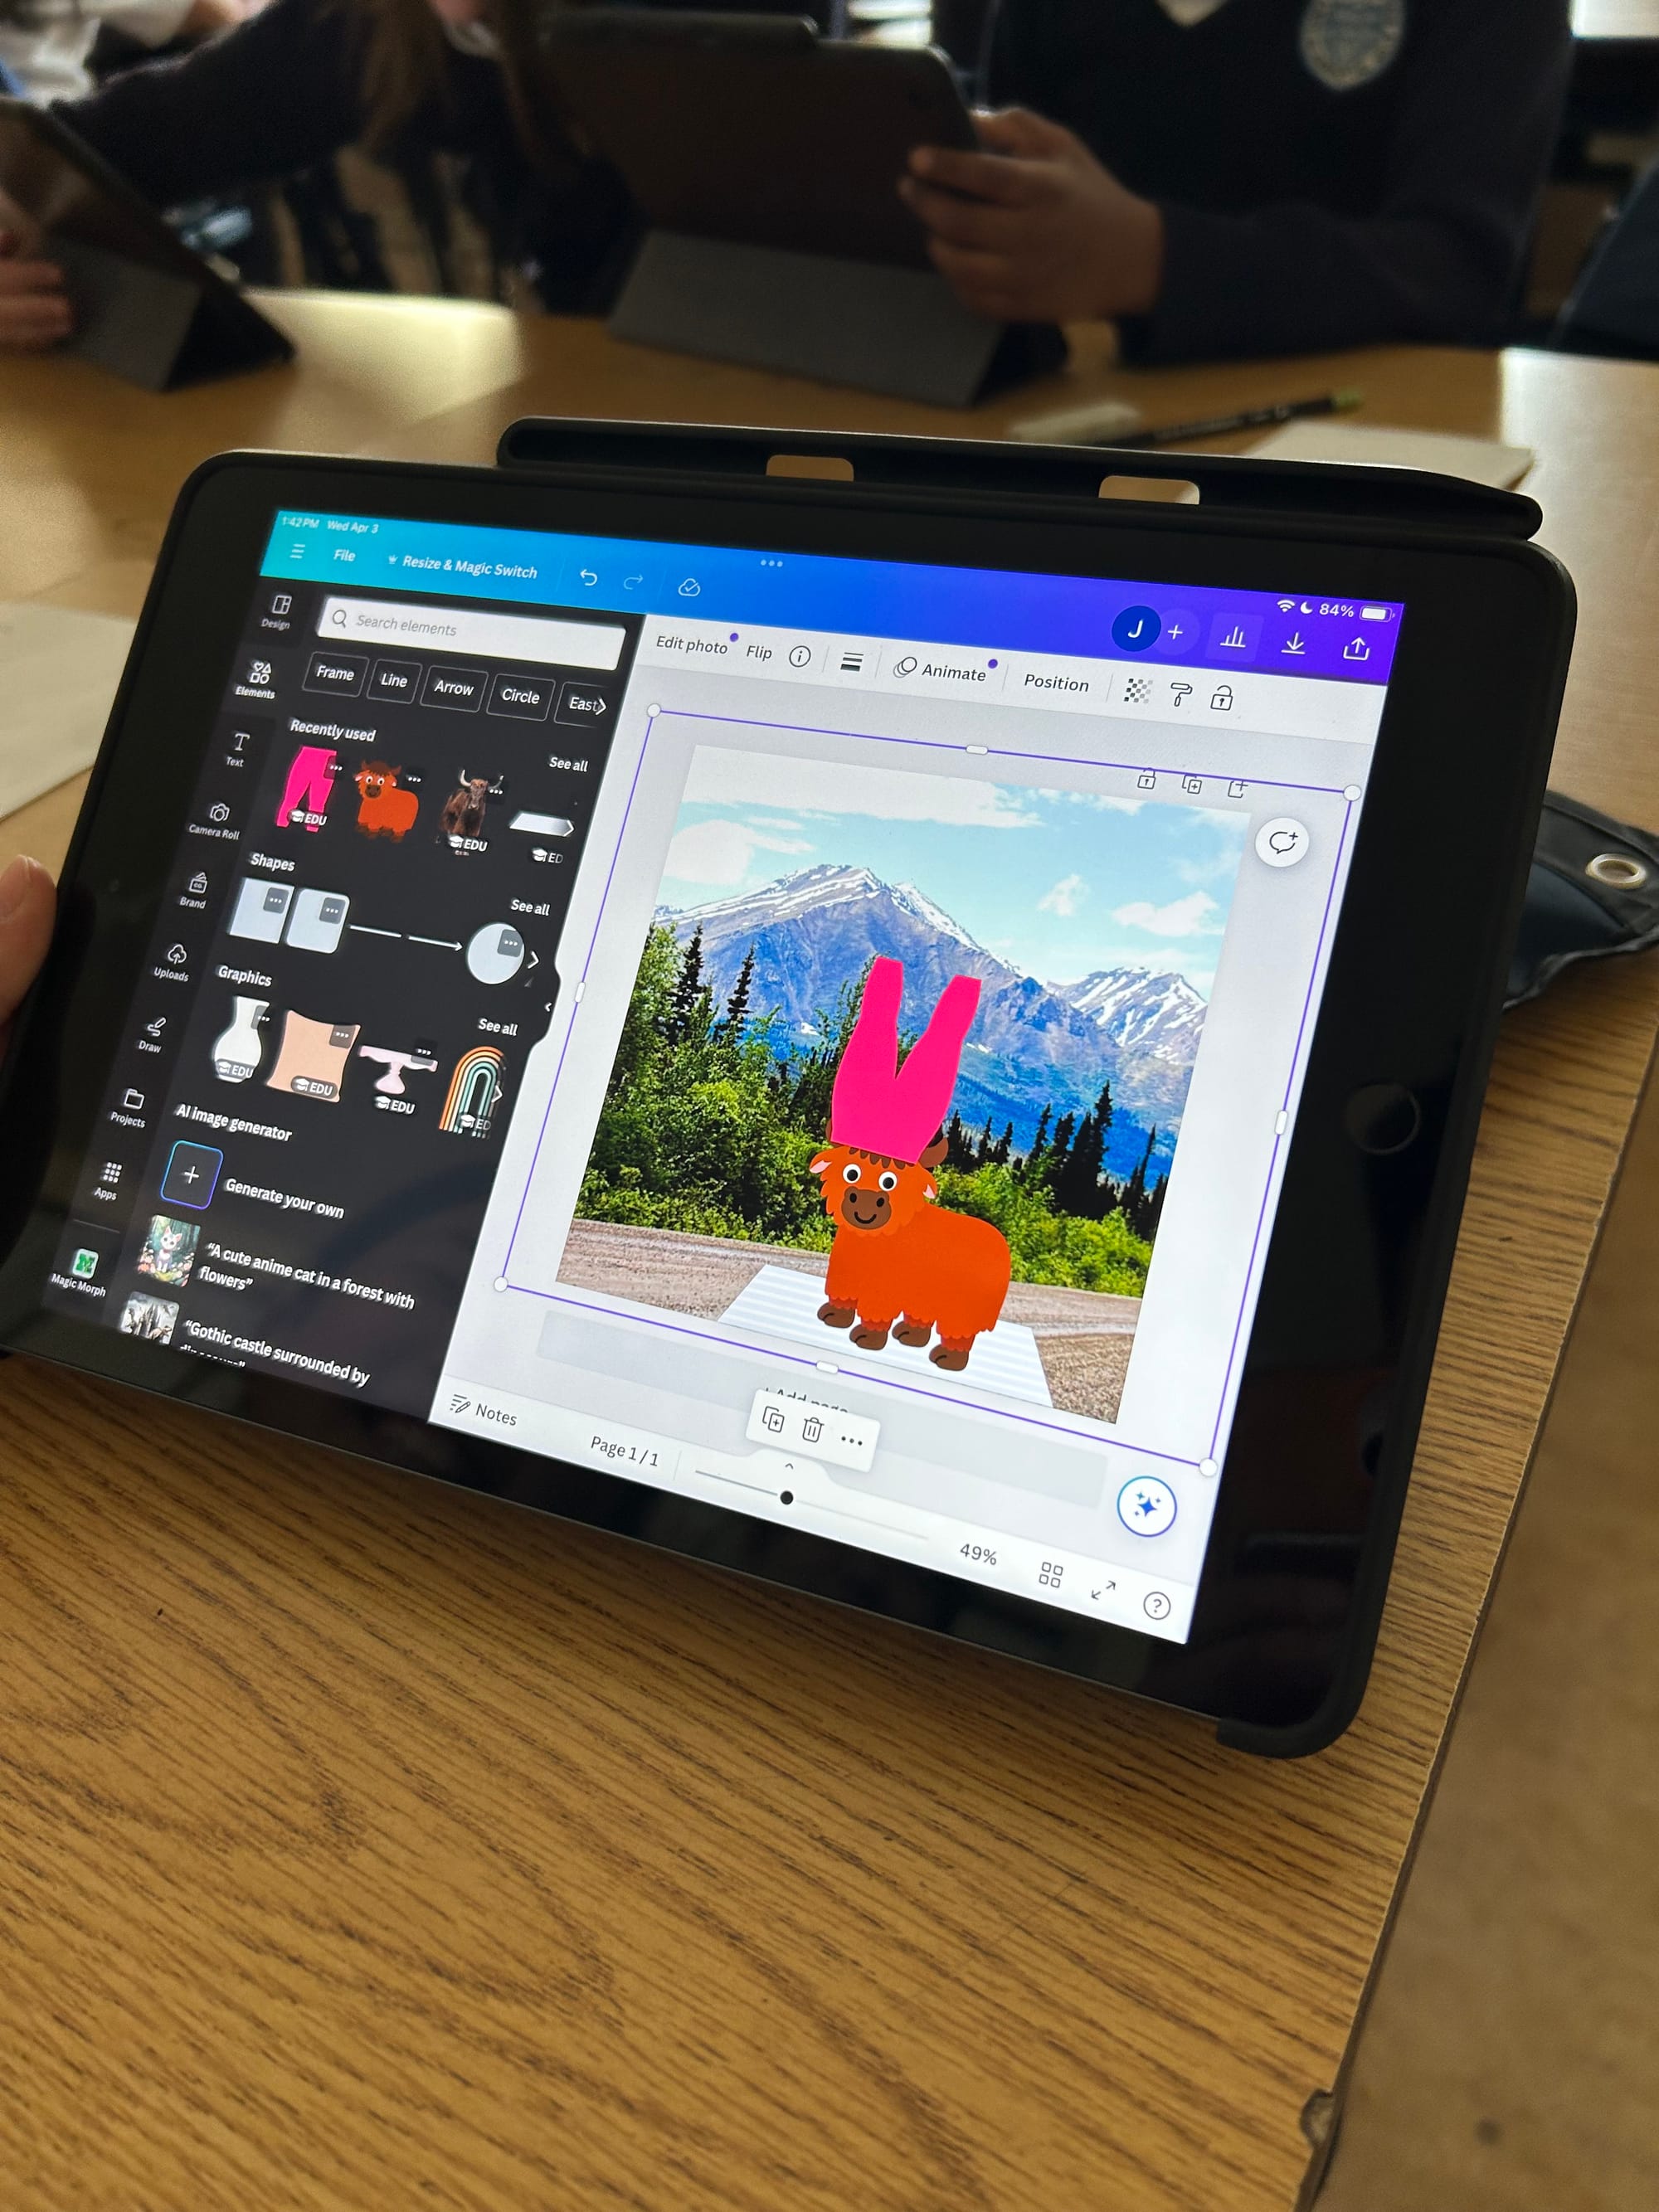
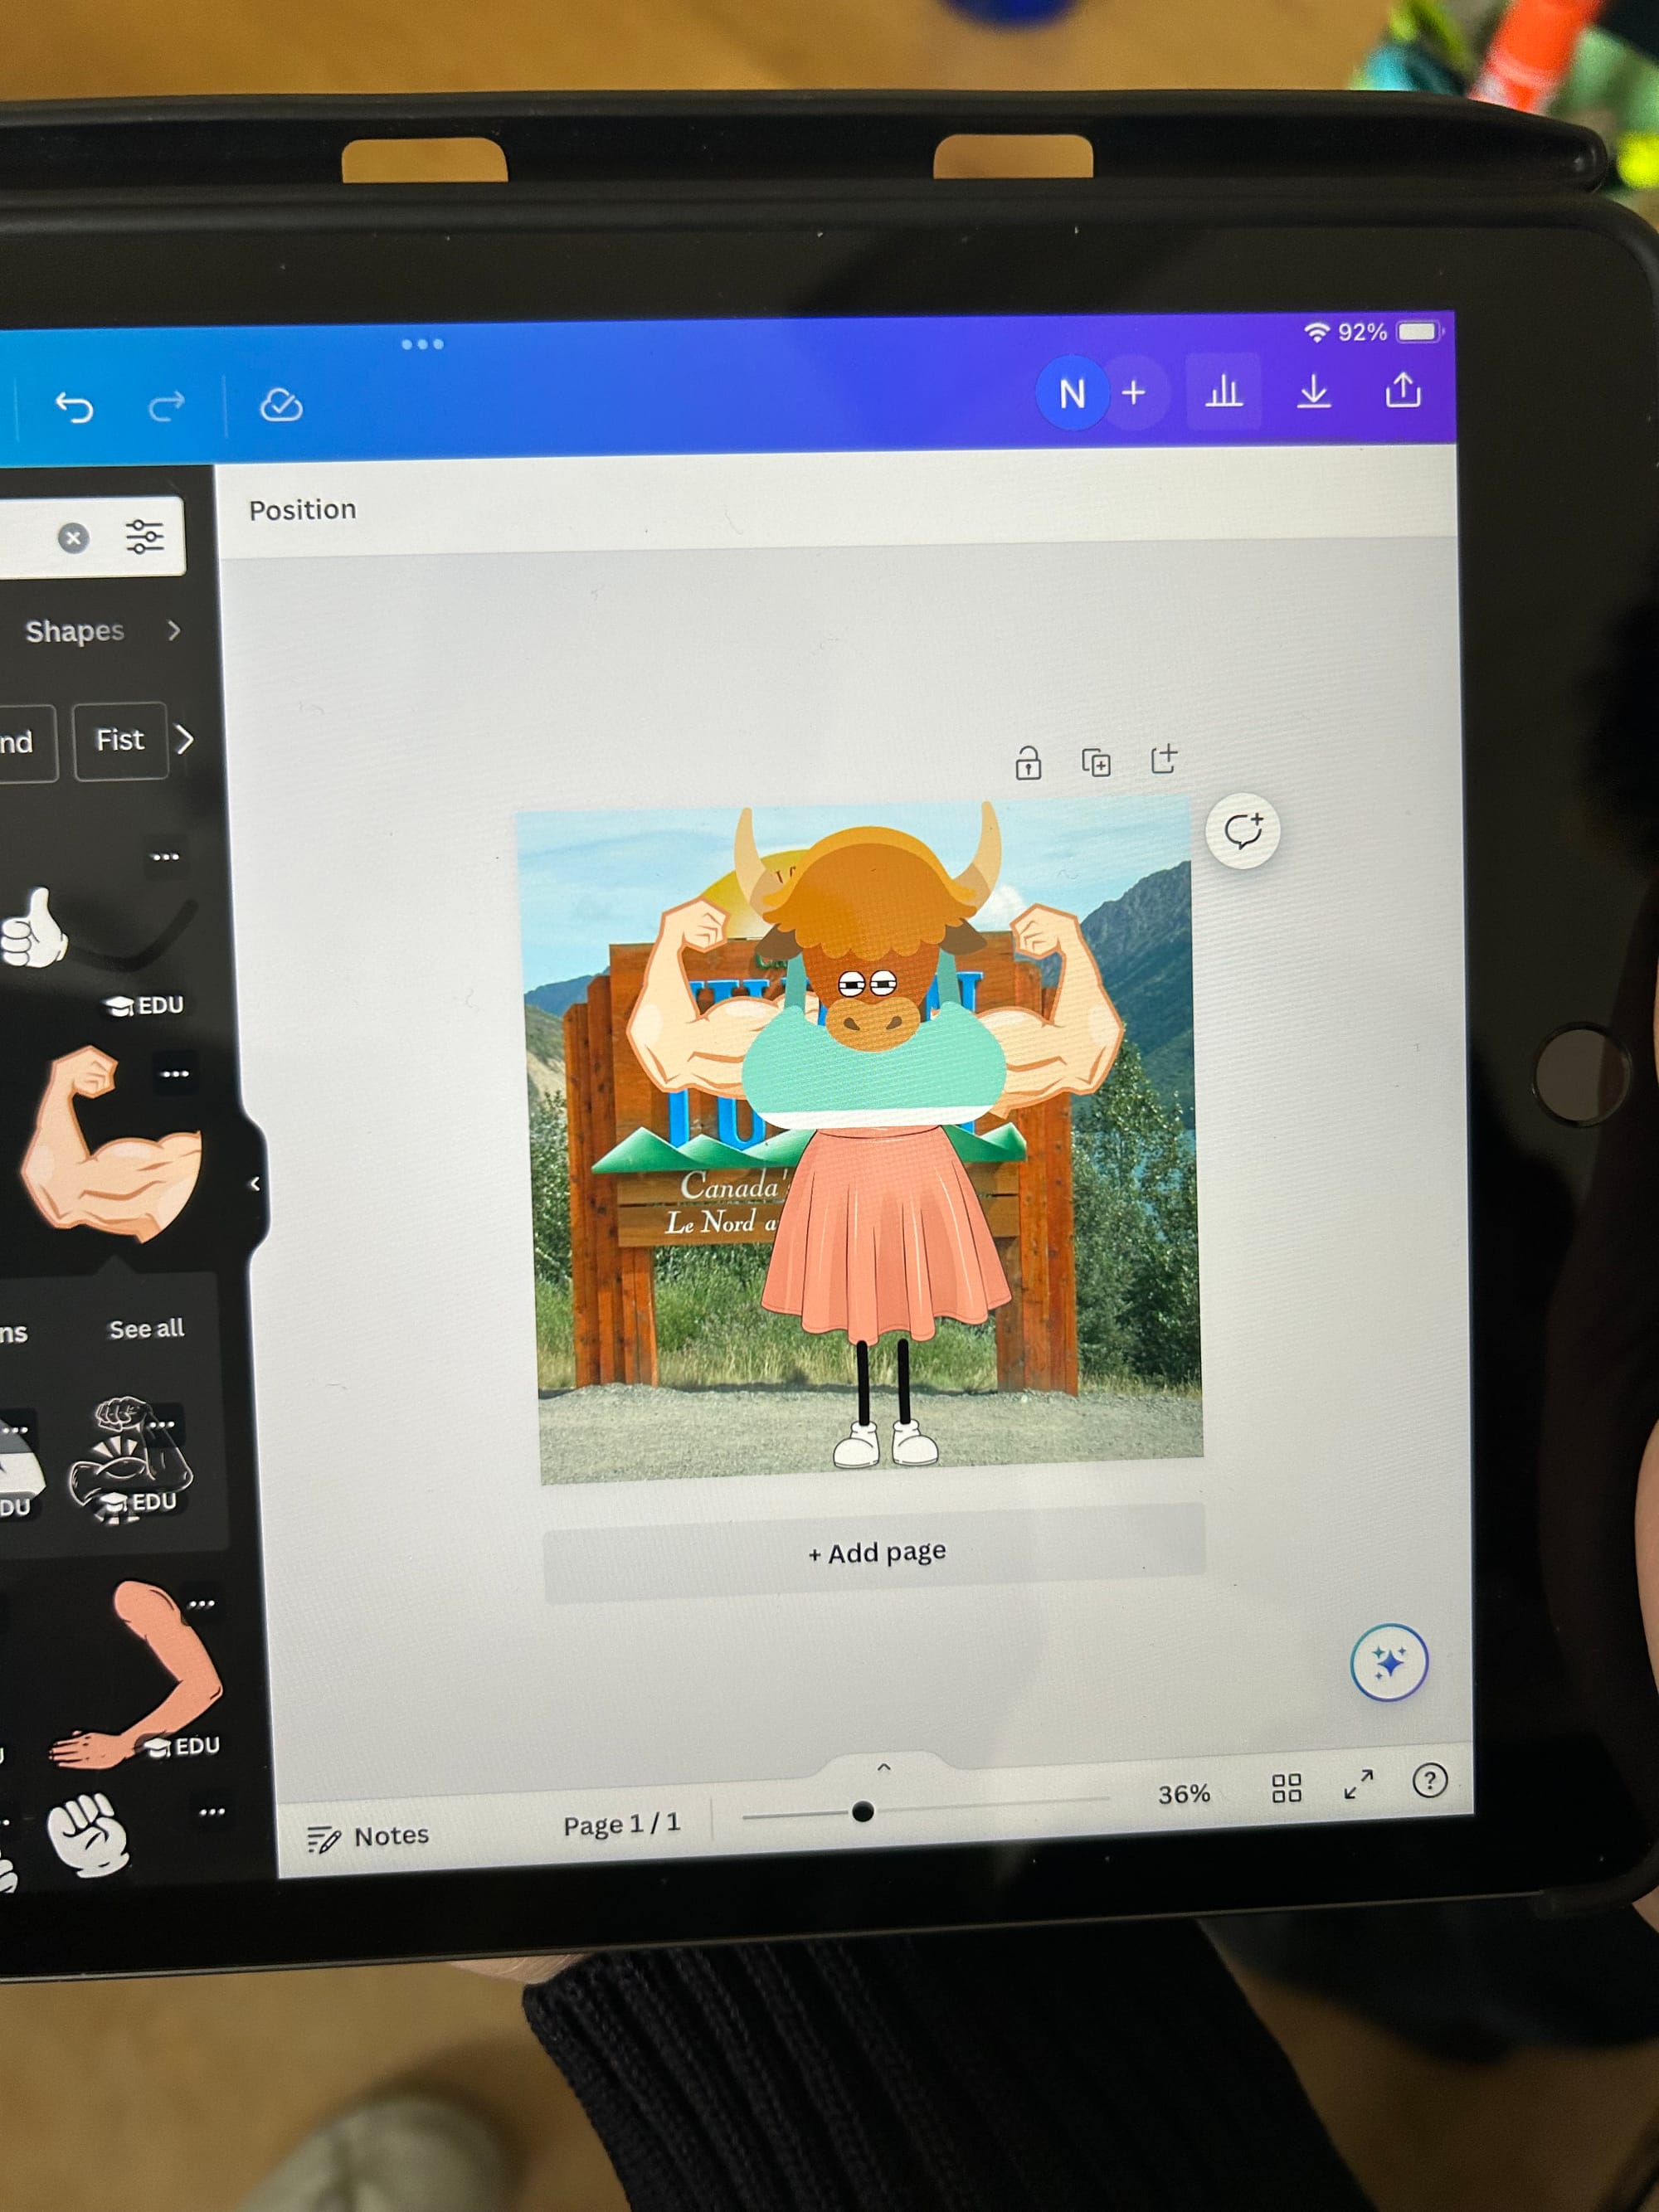
Yoga Yaks in the Yukon!
By the end of the class, the kids were thoroughly enthused and excited to start their next Canva project and Janice was confident that they had the skills to complete it. This activity was done in Grade 4 with iPads but we’ve also embarked on similar projects in Grade 3 and in Grade 5 using Chromebooks.
In fact, all these projects could benefit from a collage exploration to start!
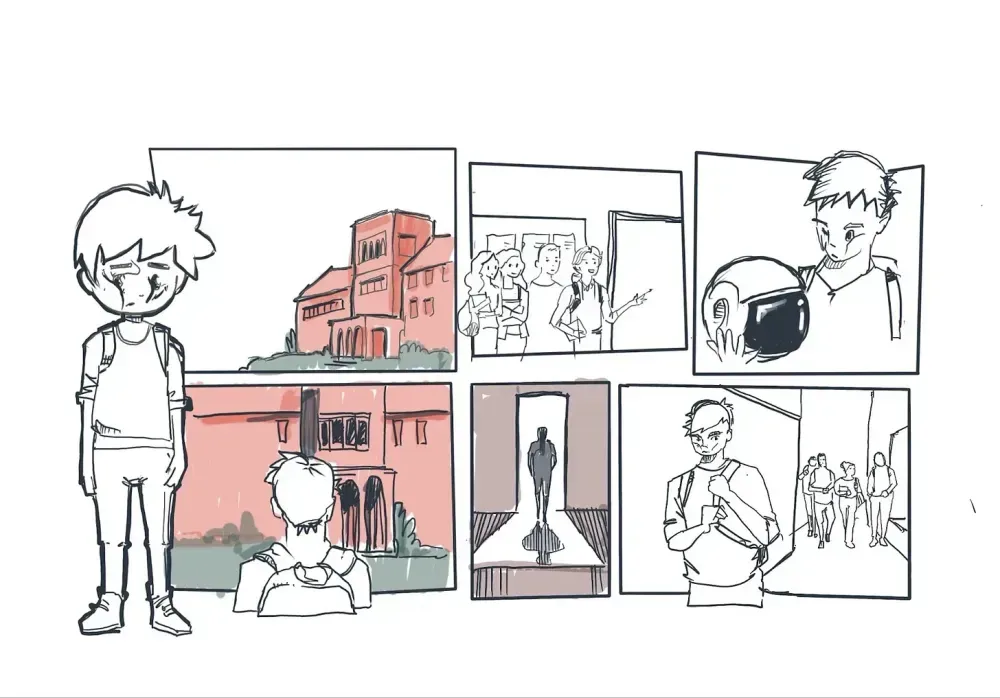
Surreal Collages
Show your class this video on analog paper collages created by North Vancouver artist, Jacob Intilé.